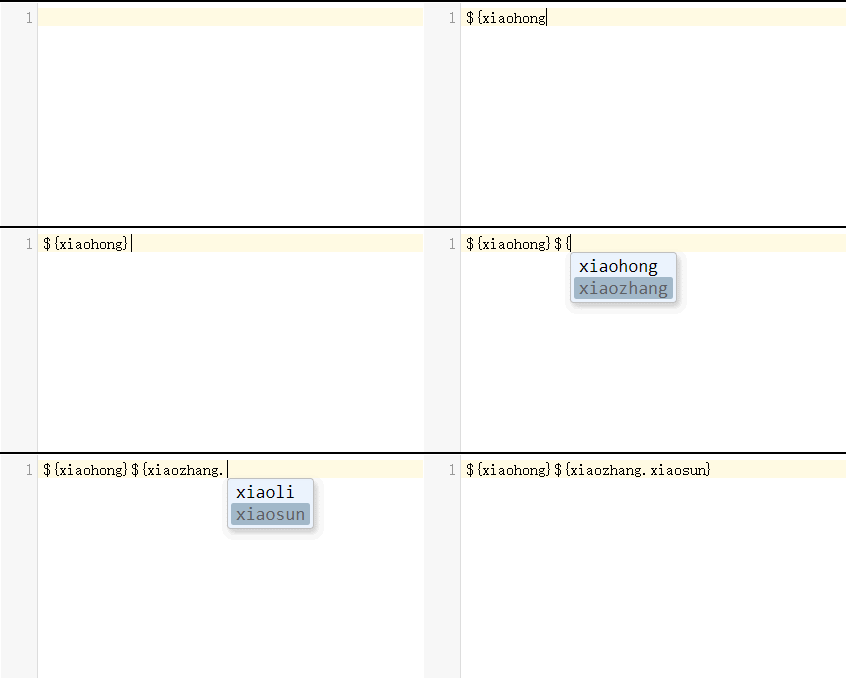
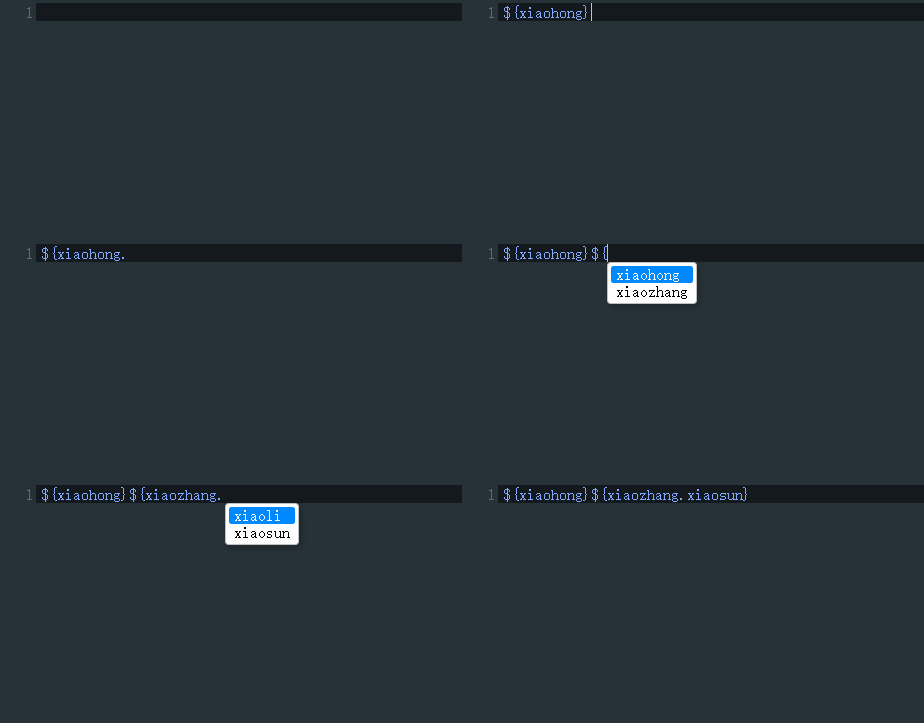
1
2
3
4
5
6
7
8
9
10
11
12
13
14
15
16
17
18
19
20
21
22
23
24
25
26
27
28
29
30
31
32
33
34
35
36
37
38
39
40
41
42
43
44
45
46
47
48
49
50
51
52
53
54
55
56
57
58
59
60
61
62
63
64
65
66
67
68
69
70
71
72
73
74
75
76
77
78
79
80
81
82
83
84
85
86
87
88
89
90
91
92
93
94
95
96
97
98
99
100
101
102
103
104
105
106
107
108
109
110
111
112
113
114
115
116
117
118
119
120
121
122
123
124
125
| <template>
<div class="main">
<codemirror
ref="cm"
v-model="code"
:options="cmOptions"
@input="inputChange"
></codemirror>
</div>
</template>
<script>
import { codemirror } from "vue-codemirror";
import "codemirror/theme/idea.css";
import "codemirror/mode/shell/shell";
import "codemirror/addon/hint/show-hint.css";
import "codemirror/addon/hint/show-hint";
import "codemirror/addon/selection/active-line";
import "codemirror/addon/selection/selection-pointer";
import "codemirror/addon/display/fullscreen.css";
import "codemirror/addon/display/fullscreen";
export default {
components: {
codemirror,
},
data() {
return {
code: "",
cmOptions: {
mode: "shell",
theme: "idea",
line: true,
lineNumbers: true,
lineWrapping: true,
styleActiveLine: true,
hintOptions: {
completeSingle: false,
hint: this.handleShowHint,
},
},
};
},
methods: {
inputChange() {
},
handleShowHint() {
const hintList = [
{
name: "xiaohong",
value: "xiaohong"
},
{
name: "xiaozhang",
value: [
{
name: "xiaoli",
},
{
name: "xiaosun",
},
],
},
];
const cmInstance = this.$refs.cm.codemirror;
console.log(cmInstance, 54);
let cursor = cmInstance.getCursor();
let cursorLine = cmInstance.getLine(cursor.line);
let end = cursor.ch;
let start = end;
const Two = `${cursorLine.charAt(start - 2)}${cursorLine.charAt(start - 1)}`;
const One = `${cursorLine.charAt(start - 1)}`;
let list = [];
if (Two === "${") {
hintList.forEach(e => {
list.push(e.name)
})
} else if (One === ".") {
let lastIndex = cursorLine.lastIndexOf('${', start)
let key = cursorLine.substring(lastIndex + 2, start - 1)
list = []
hintList.forEach((e) => {
if (e.name === key && lastIndex !== -1 && Object.prototype.toString.call(e.value) === '[object Array]') {
e.value.forEach(el => {
list.push(el.name)
})
}
})
}
let token = cmInstance.getTokenAt(cursor);
return {
list: list,
from: { ch: end, line: cursor.line },
to: { ch: token.end, line: cursor.line },
};
},
},
mounted() {
this.$refs.cm.codemirror.on("inputRead", (cm) => {
cm.showHint();
});
},
};
</script>
<style>
.main {
width: 500px;
height: 300px;
border: 1px solid;
}
</style>
|


